Saturday, May 2, 2015

Send a Yellow Care Package Full of Sunshine - with a free printable


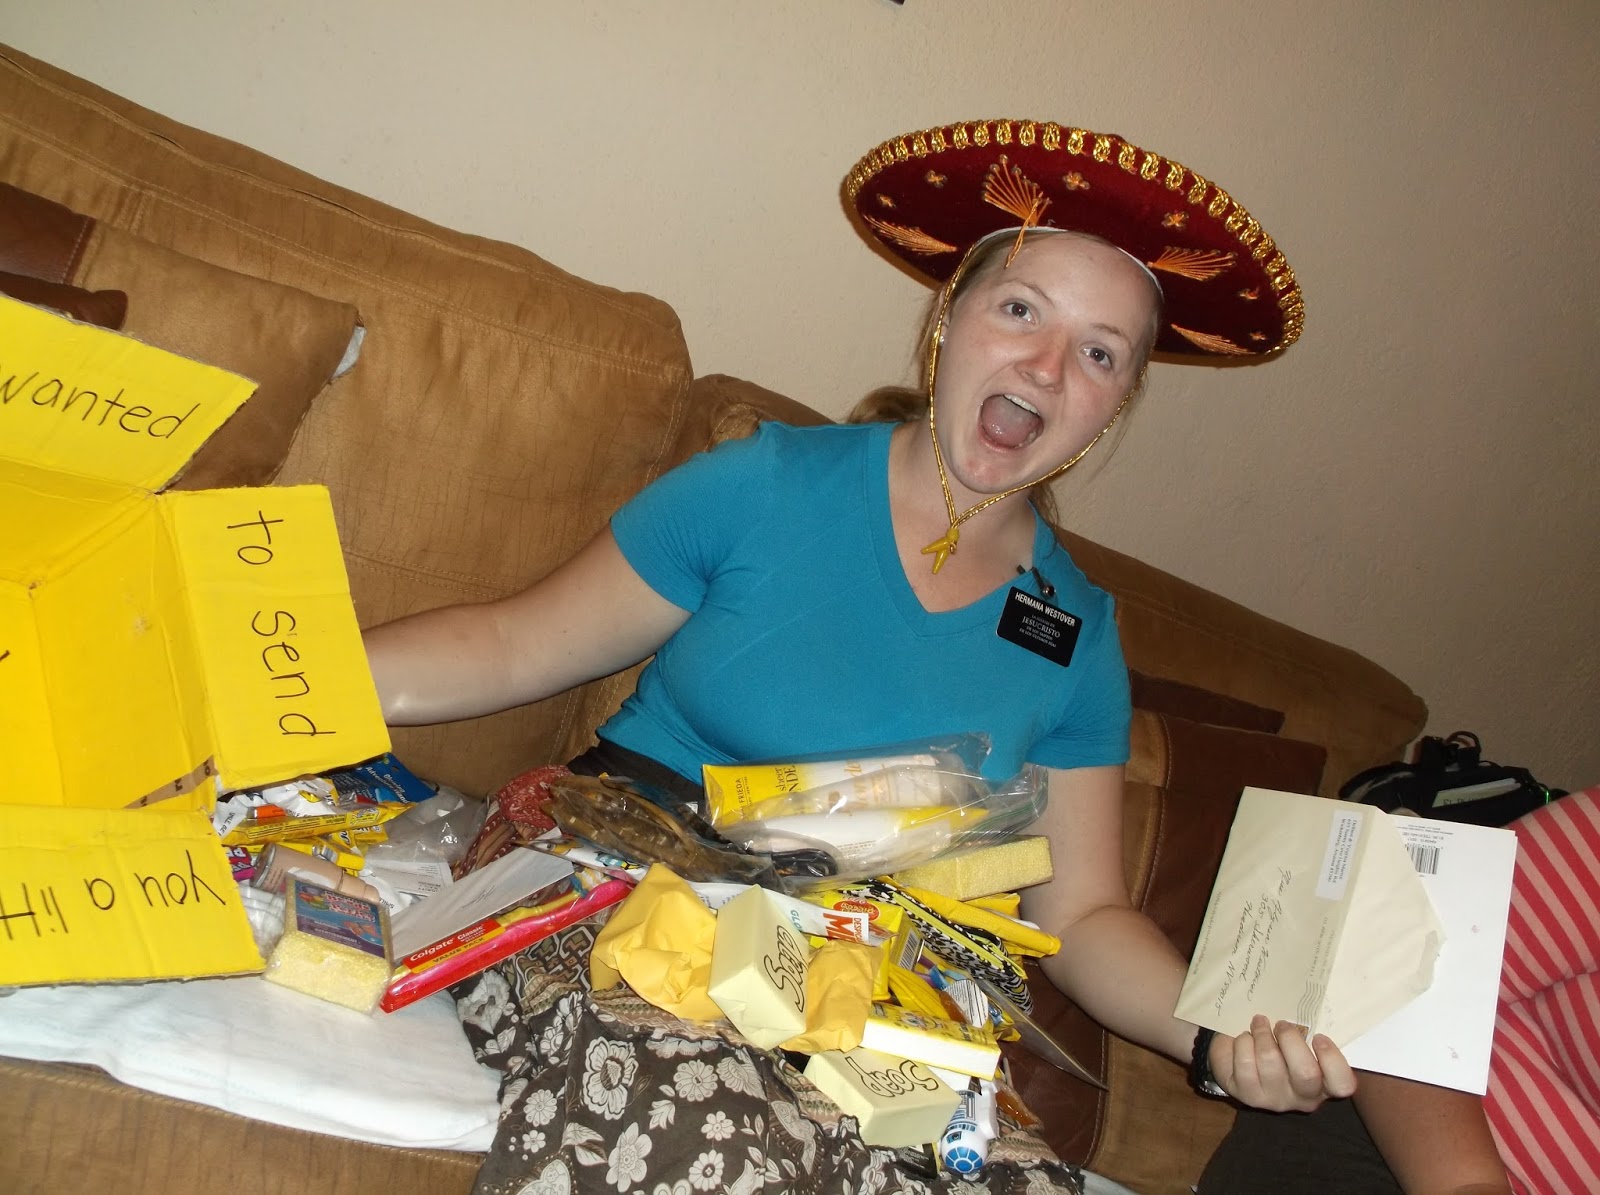
My daughter is on a mission in Guatemala and I wanted her last package to be extra special so I decided to put together a yellow package full of sunshine.  I did it with a few other friends who all have daughters on missions as well.  We all kept our eyes out for yellow items to put into our sunshine packages.  
Here is some of the stuff that we found:

Some of the items that I needed to send were not yellow, so I wrapped them in yellow tissue paper.  The next thing that I did was to paint the inside of the box yellow.  I just used some acrylic paint.  It took a few coats to get it the deep yellow that I wanted.
Then I drew a happy face at the bottom and wrote along the top.
Then I added all of the yellow stuff,
and topped it off with a note.
Below is a note that you can print out onto yellow paper.


My daughter loved her package and the Guatemalan people loved it too.  I hope your's turns out great also!


Friday, March 20, 2015

How to make a wreath out of a garden hose

I needed a Spring wreath for my door, and had seen a wreath made out of a garden hose.  I thought that would be a fun idea to do for my door.  Off to the store I went.  I bought a 15 foot garden hose at Wal-mart.  Then I headed to the dollar store for the rest of my supplies.  
Here is what I bought:
flowers
hand shovel and hand rake
garden gloves
a bag of plastic bugs
butterflies
floral wire
a small garden sign

I started out by loosening up the hose to make it larger. I wanted it a little bit free form.  I tied it at the top and the bottom with the floral wire.  For the hook I just used the washer that came with the hose.  I placed it through the top wire.


Next I placed the flowers at the top of the wreath.  I wanted to have the ends of the hose showing as a focal point.  I played around with the flowers and then hot glued them to the hose.  Next I glued the hand shovel at the bottom of the wreath (see above).


Then I place the hand rake next to the shovel and tucked the garden gloves next to that.
On the opposite side I added a little garden sign that I had found at the dollar store.  I thought that it looked like a seed packed and loved the bird in the picture.  Lastly I added the lady bugs from my bag of bugs.  Since the lady bugs had a red head and red legs I colored them with a black permanent marker to make them look a little more realistic.


I finished it by adding one of the butterflies to the top of the wreath.  I think it turned out great!  


Convert it to an Easter Wreath!
(dual purpose)


Since it is now Easter season, I added a little bunny that I found at the dollar store.  I just took the plastic tag that came on the bunny and tucked it in behind the sign (with no glue).  The tag caught in there so the bunny doesn't fall off.  Then when Easter is over I can remove the bunny and still use the wreath.  That means one fewer wreath for me to store!


I had a few extra flowers, and extra sign, plus and an extra water pitcher.  I weighed down the pitcher with some rocks at the bottom. Then I threw all the flowers into the pitcher and added the sign on the outside and placed it next to the door.

Here are a few other wreaths that I have made.  Just click on them to check them out.


Thursday, February 12, 2015

How to make a Minion out of a Twinkie for Valentine's, Birthday, Thank You or just for a great day!

I made these cute minions out of Twinkies for my class.  I looked at several different ways, and after trying a few other methods, this is what I came up with to make it easy for me.  Here's what I used:
double sided tape
electrician's tape
blue painters tape
a large googly eye
a sharpie marker
a small pocket printout (below)


Here are the steps:
I started by measuring a piece of painter's tape around the Twinkie and taped it to the table.  I used it as a guide to cut all of my tape.  First take the electrician's tape and cut it to the length of the guide tape.

Then I carefully placed it over the word "Hostess" towards the top of the Twinkie.  Each Twinkie wrapper was a little different, so I would just try to find the spot that would still let you see the yellow of the Twinkie and not the words.

Then cut out two pieces of painter's tape, using your tape guide.  Wrap those around the bottom of the Twinkie.  Be sure to leave about 1/2" gap between the electrician's and the painter's tape for the mouth.
Add the googly eye and the pocket with double sided tape.  I added the heart for Valentine's Day.
For a final touch draw the mouth and the hair.  I tried to make each one a little different by making different expressions on the mouth.  As you can see, I also added mustaches.  
Then I placed the sign on the head, trying to cover any "Hostess" markings that were visible on the top.  I have several different versions of printouts for the sign on the top of the head.  If you print it out on colored paper it makes it a little more fun.  
See the printouts below:

Have a great day:
Thank You:
Happy Birthday:
Happy Valentine's Day:

Monday, January 5, 2015

The Early Bird Gets The Worm - a gummy worm treat for the people who are on time.

I decided to have a special treat for all of my students who arrive on time.  I put a handful of gummy worms into a snack size plastic bag.  Then I printed out the topper below, cut it out and stapled into onto the the top of the bag.  The students loved the special treat.

You can either right click and save it into your pictures, or you can copy and paste it into your printing program.  Size it to fit the entire sheet of the paper.  Print it out on card-stock.


Printout


Here is how to cut it out and attach it:


Fold the paper along the top then cut out the sides and the bottom.


Place the baggie in-between the front and the back of the topper.   Then staple along the bottom edge.  You can tape the bag on the topper to make it easier.


Tuesday, September 9, 2014

Worm Wednesday, A Reading Competition on Wednesdays for Book Worms


I thought that I would do a fun reading challenge on Wednesdays in my class.  

Every Wednesday I would have the kids read for 5-10 minutes.  They need to make a note of where they started and where they finished.  


While they are reading I will place a few candy worms on each student's desk.  


Then at the end of the time I will reward the student who read the furthest with a bag of gummy worms.

Here is the printout for you.  Just click on it to make it larger, then save it into your pictures, or copy and paste into you print program.


I sized the picture to a full size sheet.  Printed it out on card-stock and then cut out the header.  When cutting out the header, I folded it over and cut out the sides and bottom.  That way I could staple it to the top of a sandwich baggie filled with gummy worms.


I also have a version to use with scripture study:

And here are the printouts:


I also have another worm reward for the students who show up on time.  Just click on the link below: