Come and see some of the fun things that I have done in my home. I hope that I can inspire you for your home. I do this all for free so my printouts are not click and print. Instead you will have to save them into your pictures, or copy and paste them. If you copy one of my projects for your blog, please give me the credit by sharing a link back to Holly's Home. ALL ITEMS ON MY BLOG ARE INTENDED FOR PERSONAL USE ONLY! Thank you for visiting Holly's Home.
Saturday, September 28, 2013
Tutorial and Free Pattern on How to Make a Pumpkin and Turkey Appliqued T-Shirt
I had this adorable material laying around, and everytime I walked past it I thought that I had better do something with it. The pattern was the color of fall, so I thought that I would make my granddaughter a pumpkin shirt with a matching skirt. But then I thought, why don't I also make a matching turkey shirt so that she could wear the skirt a little longer.
Here is what a did:
Here is the pattern for the pumpkin applique:
If you right click your mouse you can save it as a picture and size it to the size you need using your word processor program. I printed it out on card stock so that they would be easier to trace around.
Cut out your pattern. Then rough cut your fabric to a little bigger than the size of the pattern. Use a different material for each pattern piece. Then iron on some Wonder Under to the wrong side of the material.
Then trace the pattern on the back side of the Wonder Under. Cut out the piece, then peel of the back side of the Wonder Under like a sticker.
When you have finished cutting out all of your pieces, lay them out in proper order on your shirt and then iron them on according to the directions.
On the inside of the shirt, behind the applique, I ironed on some fusible Easy Knit interfacing. I did this so that the T-Shirt would be a little stronger for when I sewed my applique.
I played around with several stiches on a practice pumpkin that I did. Then I decided which pattern that I liked the best.
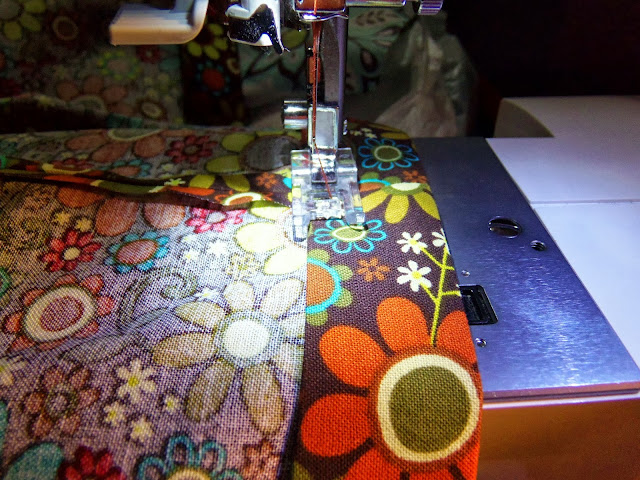
Then I stitched around the material with my sewing machine.
I wanted some pumpkin lines on the pumpkin, so I drew them on with chalk to use as a guide. Then I picked the stitch that I wanted and sewed along those lines.
Here it is finished. I used a little curly Q stitch on the leaf, just for fun. I am very pleased with how it turned out.
Now here are the instructions and pattern for the turkey t-shirt. It is pretty much the same as the pumpkin applique.
Print out the pattern on card stock. Trace each piece onto the back of the Wonder Under, using a different color material for each piece. See the instructions above.
Iron them onto the shirt, just like in the pumpkin applique instructions above.
After I sewed around my turkey, I marked where I wanted to add the eyes and the beak. I sewed beads on for eyes, and just embroidered the beak and the feet.
Here's how it turned out. It was I lot of fun and my granddaughter love it!
If you would like to learn how to make the skirt, then just click on the picture below:
Friday, September 27, 2013
Learn How To Make A T-Shirt Quilt
I have to tell you that my daughter made this incredible quilt. She just graduated from High School and is getting ready to leave on a mission to Guatemala. She got the idea to do this from a friend of hers. We enlisted the help of our good friend Cindy
http://cindysinspioraid.blogspot.com/
who is an amazing quilter. She showed us how to make it. I have had so many people ask how to make it that I thought that I better share.
One of the first tricks is this amazing 15" x 15" cutting board. I got mine on Amazon. You can see exactly if your square is centered before you cut it out with a rotary cutter. She cut out twelve T-shirt squares for her quilt.
The second trick is this amazing fusible knit interfacing. It made the shirts stronger, and easier to sew. We got ours at JoAnn's.
Then she cut out twelve interfacing squares
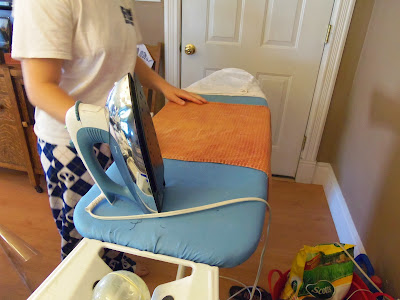
and ironed them onto the back of the T-shirt squares. She covered the interfacing with a rag while ironing.
She then trimmed them down to 14" squares
so that they had a cleaner edge.
Then she cut out the material to outline the t-shirt squares. She cut the strips at 2 1/4". (On our next quilt we did 2 1/2" strips. We thought that this was easier to work with.)
She picked out 3 different fabrics and made enough strips to go around 4 shirts for each fabric.
She Then sewed each t-shirt square with the fabric strips, making a bigger square.
This is simple. She sewed a fabric strip on both sides of the t-shirt square. Then she iron the seam and trimmed it.
Then she sewed the fabric strips to the top and the bottom of the square. Then ironed and trimmed those.
Once you have all your squares done, lay them out on the floor in the order that you would like them to go.
Then she sewed them row by row. This is the time you can check to see if the two middle seams line up. If they don't match, you can tweak it a little bit by re-sewing the seam that is too big and making it a little smaller so that the seams will match up.

Then she sewed the 12 squares all together to make the quilt top.
When sewing the rows together she started by matching the center seams, pinning them first, then pinning the rest. This will ensure that all your seams match neatly.
She sewed it "stitch in a ditch" method, which means to sew on all seams when you are stitching the front and the back of the quilt together.
She also stitched an X through the center of the shirt square.
She had a few problems with the needle sticking to rubber letters on the shirt's transfer. She used painter's tape on the sewing machine foot to keep it from sticking. Then she added the binding.
She did an amazing job and I am so proud of her. As you can see from all of the shirts, she is an amazing girl!
We took the leftover scraps from this project and made a skirt for my daughter. See how we did it by clicking on the picture below:
Thursday, September 26, 2013
Update an Old Plastic File With Contact Paper
After spending the time to clean off my desk, I felt I really deserved a new paper file to add that finishing touch. But you know me, I just hate throwing anything away! I thought that I would give this ugly old plastic file one last chance. After all, it still was in working order.
So into the craft room I went and came out with two rolls of black and white contact paper. I couldn't decide which one would look the best, so I decided to try both. I could always change it if I hate it or get tired of it.
I used the darker one on the sides and top, and the lighter one on the drawer fronts. I just held up the paper grid on the back of the paper and eyeballed how big of piece that I needed. Then I peeled off the back and carefully stuck it on. Find a dominate edge and start there, slowly rubbing the paper so that no bubbles are showing.
Here's another view of the finished project. Now, what to do next?
Subscribe to:
Posts (Atom)


.jpg)
.jpg)
.jpg)


