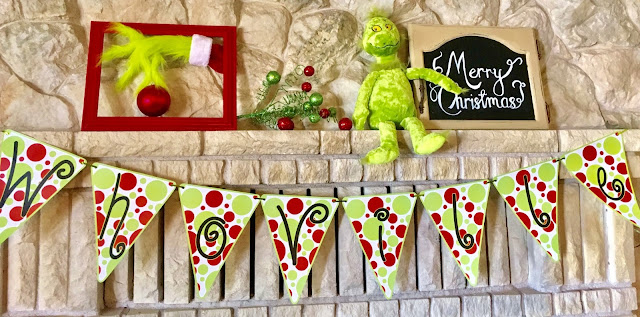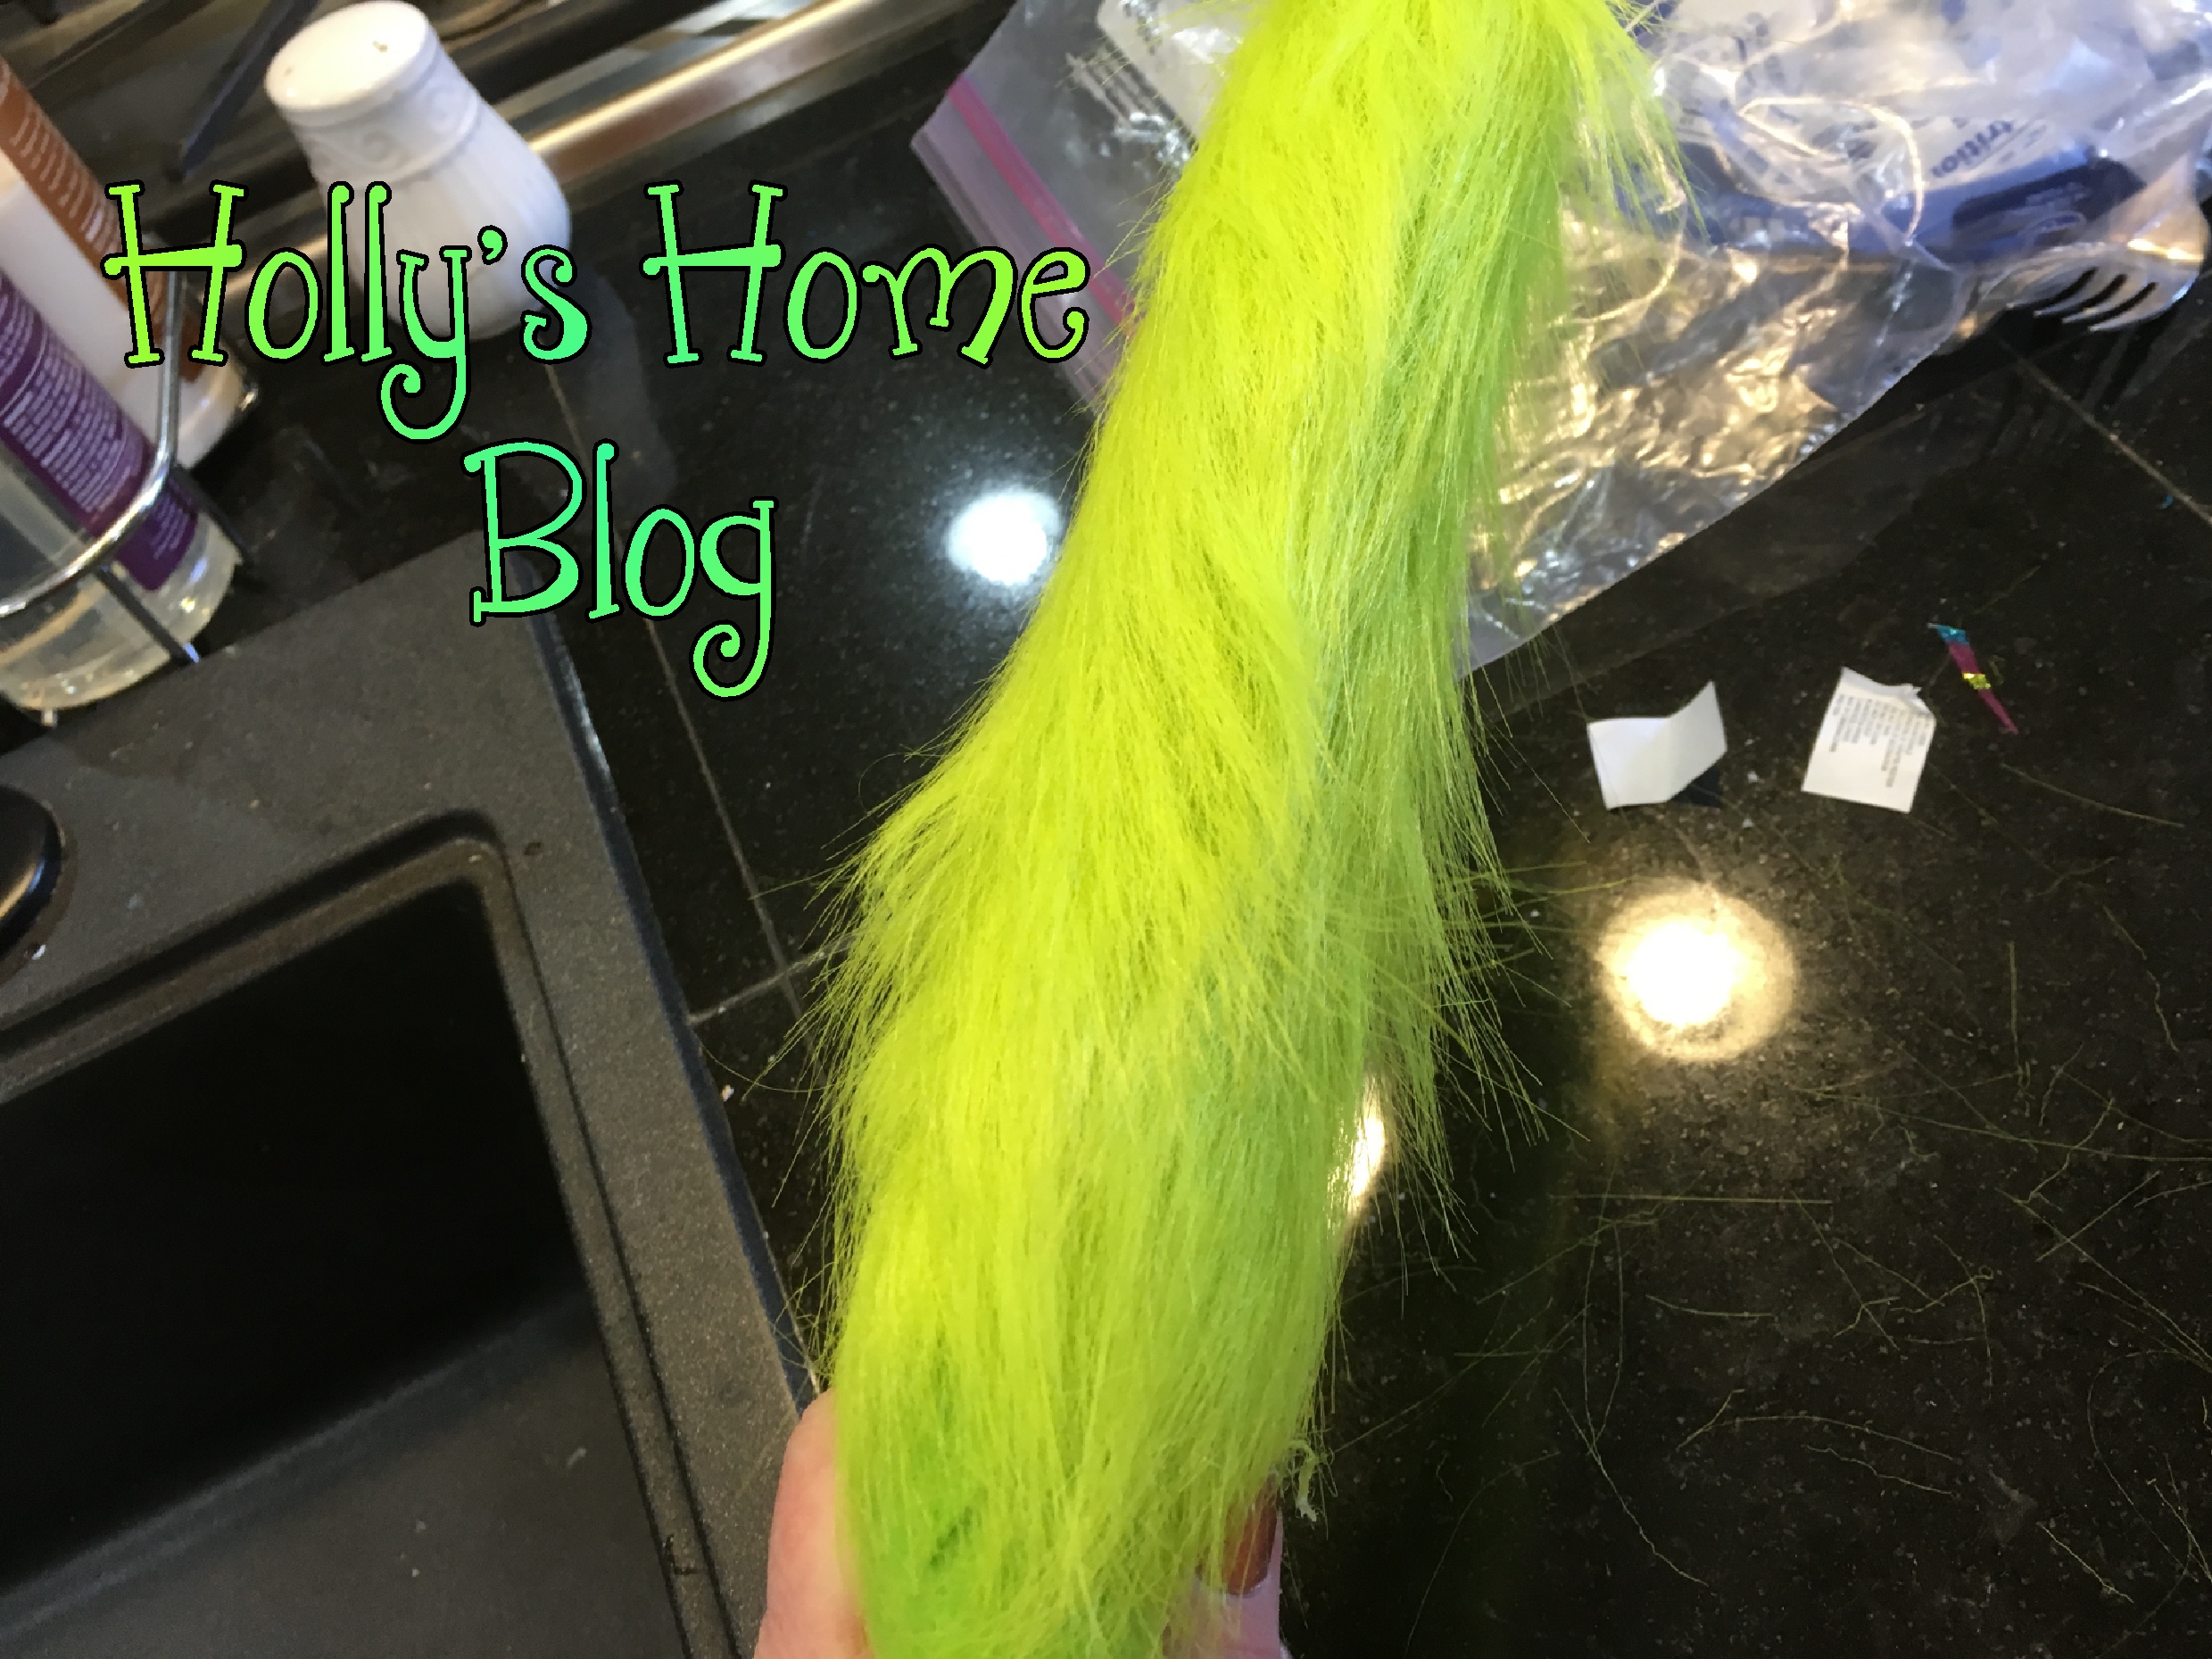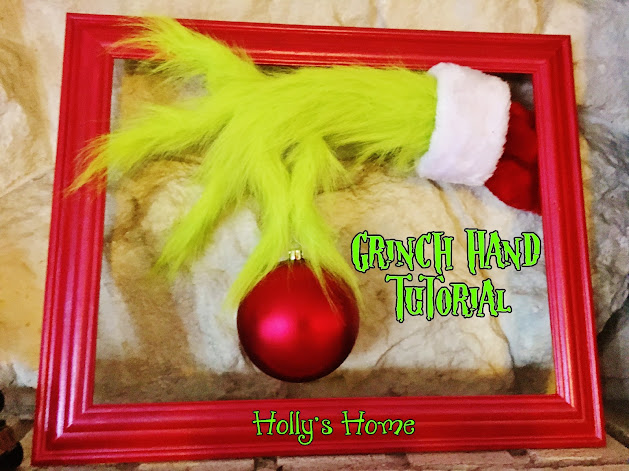
This Christmas I decided to have a Grinch themed Christmas party for our family. I had some leftover green fur from some other Grinch themed projects that I had done.
Click on the image below to see how to make a pumpkin into a grinch
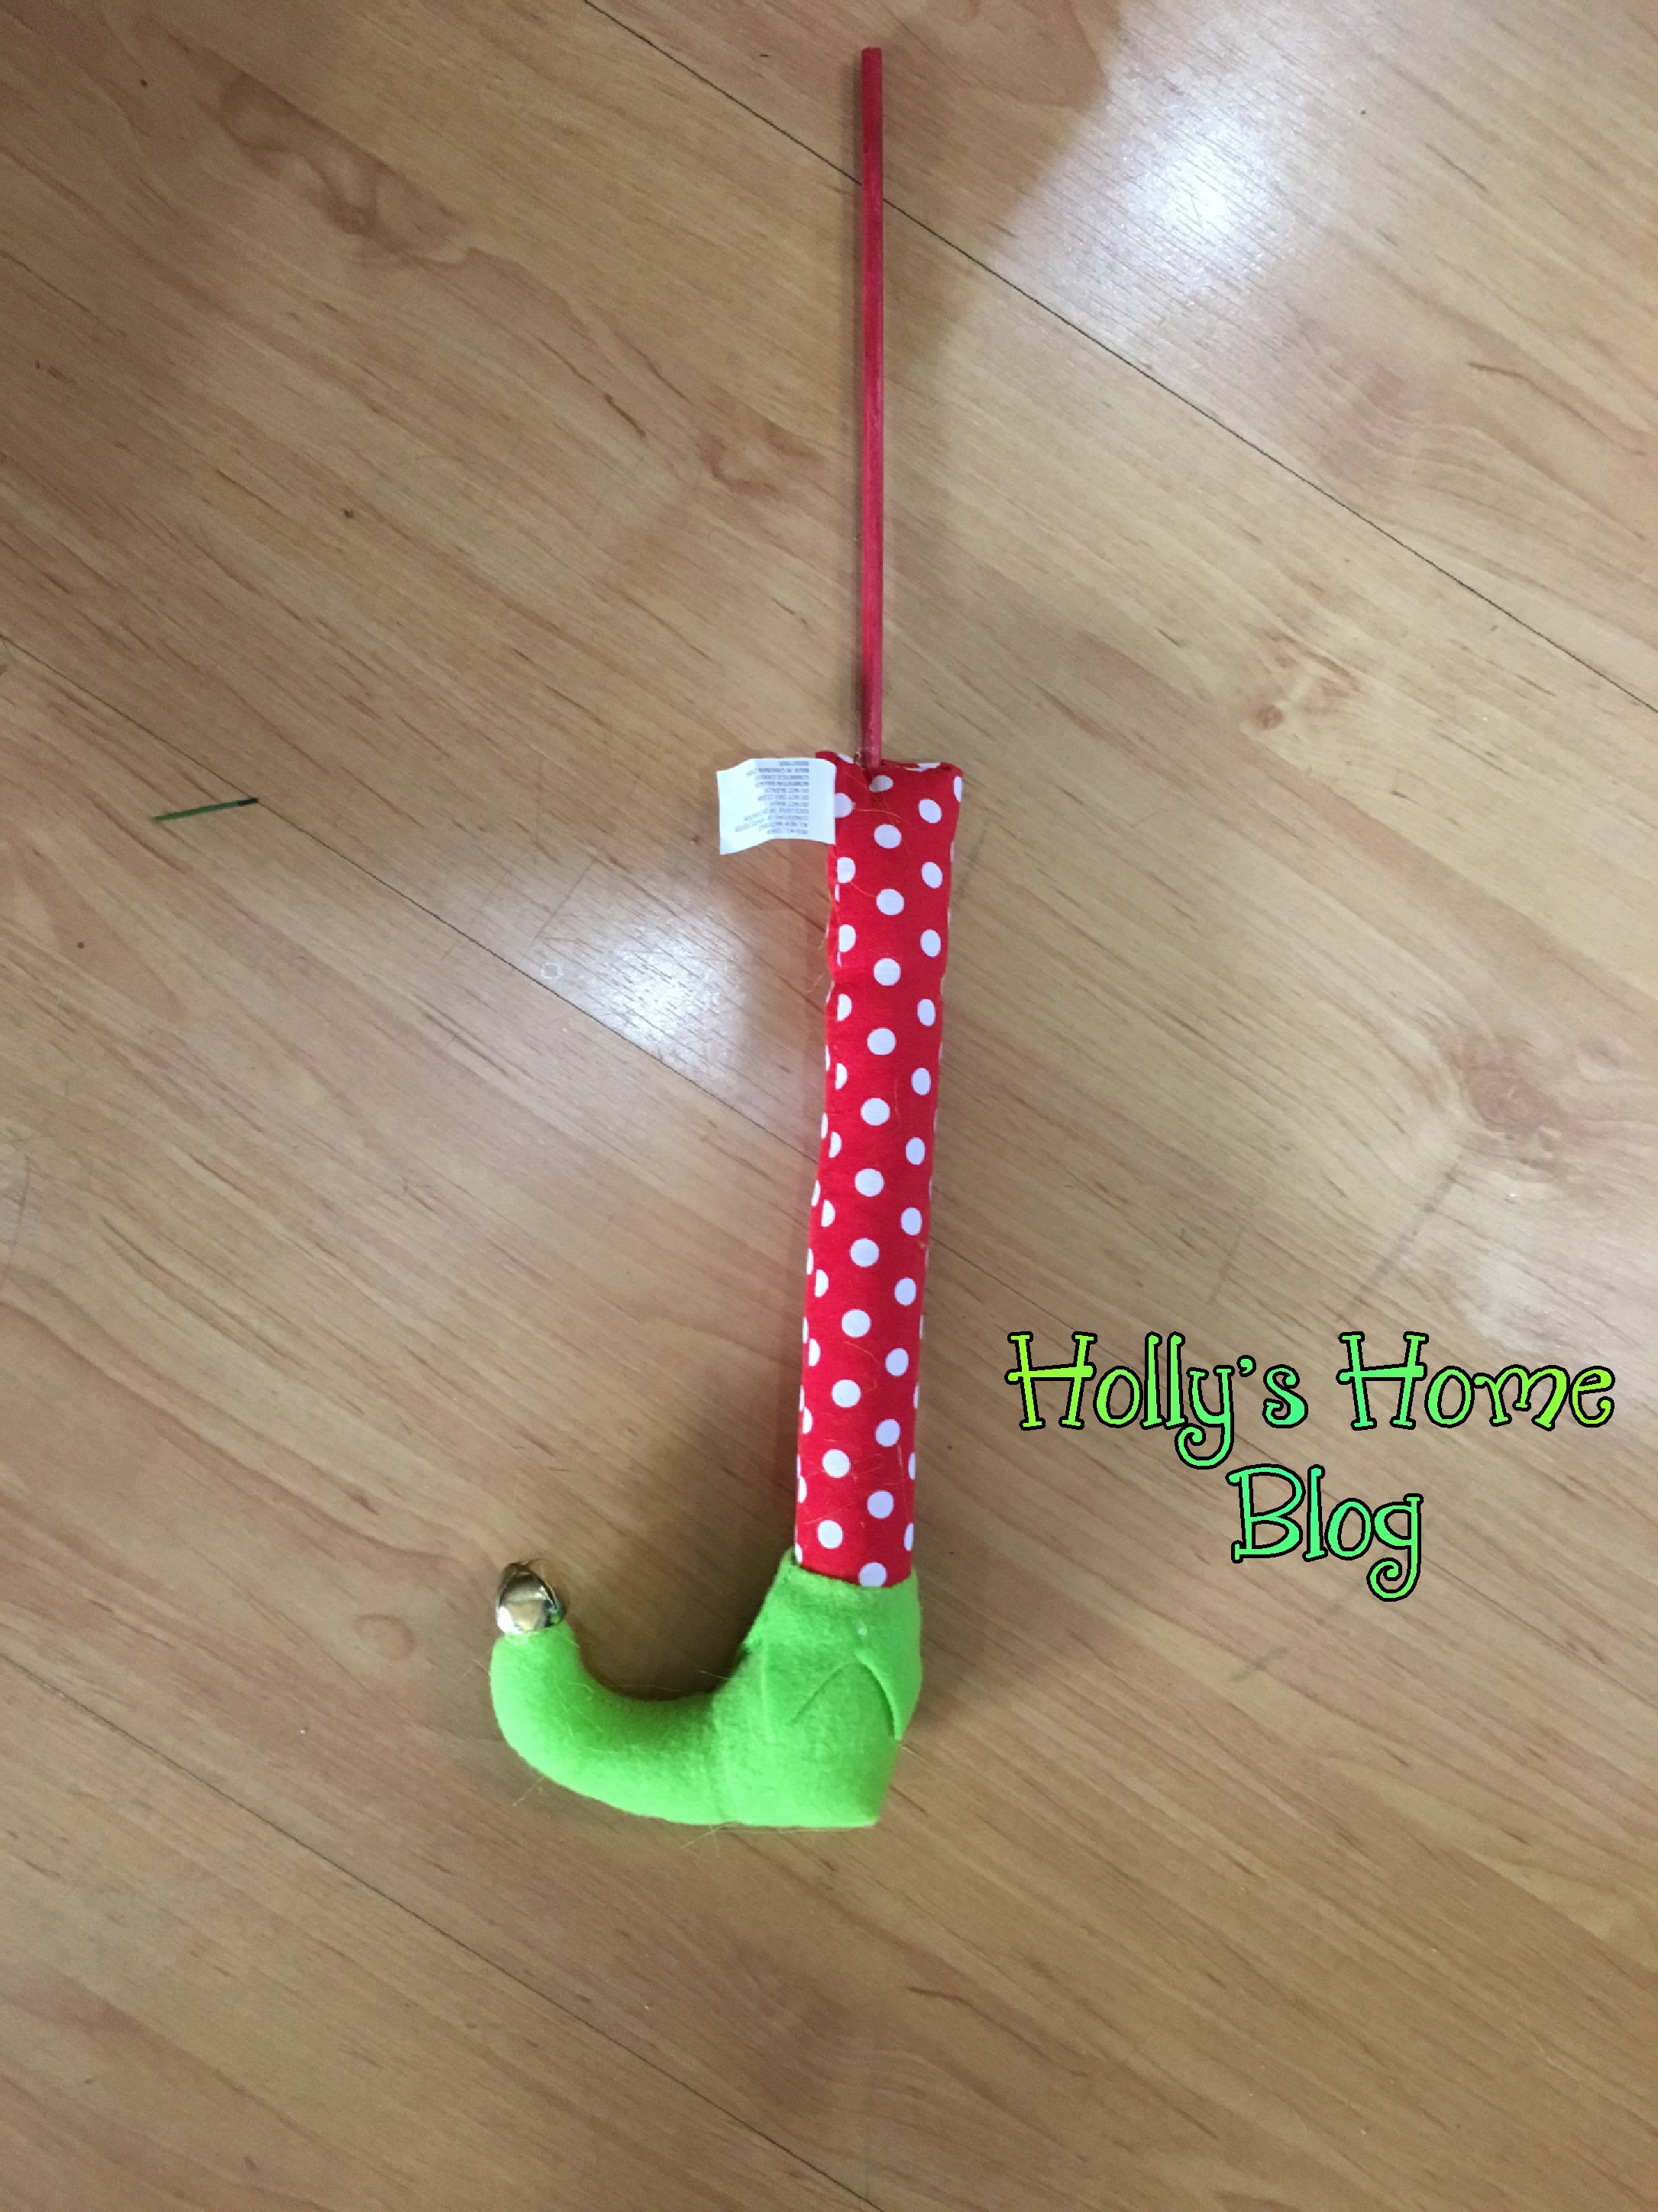
Or how to make some grinch feet.
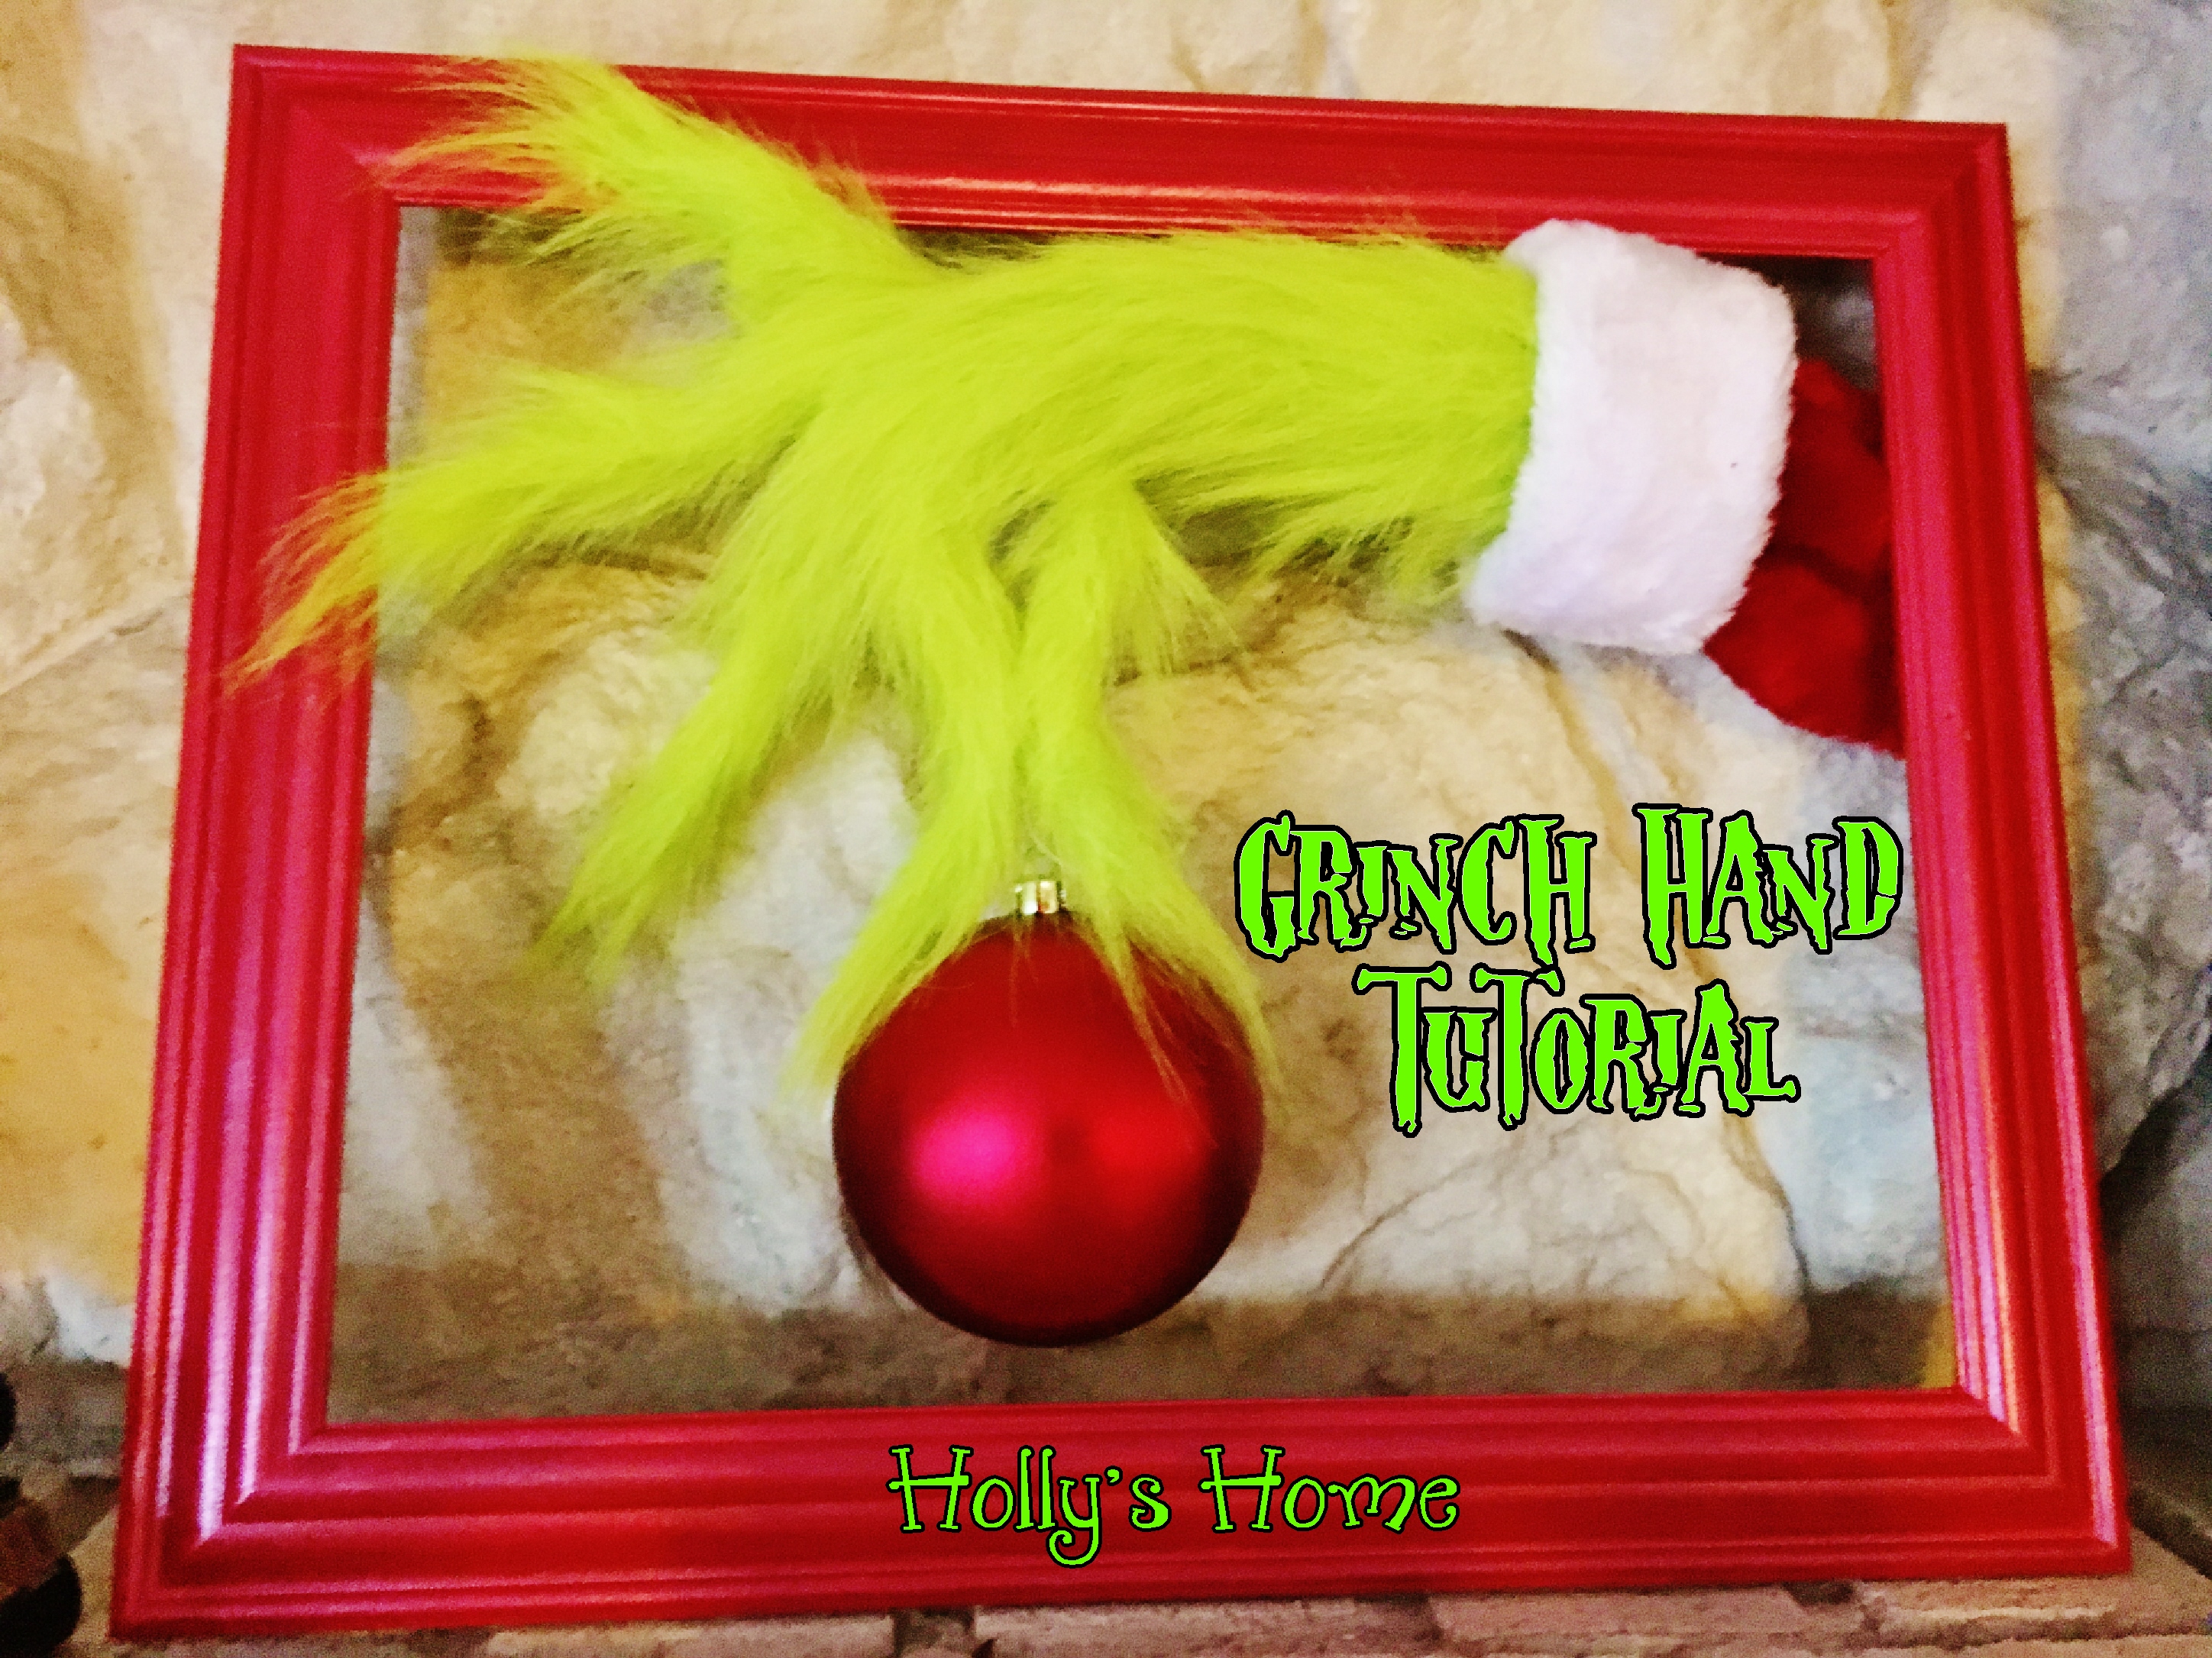
In researching the Grinch I kept coming across this picture of the Grinch's hand:
So I thought, hmmmmmm.... Maybe I can create a 3D version of the hand with my extra fur?
This is how I did it:
I traced an outline of my hand on the back of the fur. Then I made the fingers about an inch longer than mine. I also made them pointed.
Then I cut out the fingers. I was careful to cut close the fabric and underneath the long fur. Notice that I just left the wrist and the arm the width of the hand.
Next I glued a piece of wire to every finger. I ran the wire all the way down the arm.
Then I rolled up the arm, with the thumb on the outside and the pinky finger on the inside. I left a little hollow space in the center. I glued the arm closed with hot glue. During this process pull the fur over to the side when you glue it together. Then when you are done brush the fur back over the seam so that it is less noticeable. This is not a big deal, since you really won't see it.
Now start gluing the fingers closed. Do your best to put the raw edges together.
Then brush the fur over the seam to hide it.
After the fingers are all done then start shaping your fingers like the ones in the picture. I just put "Grinch hand" into Google images and picked out the hand that I like the best and tried to form mine into the same image.
For the Santa sleeve I used a red stocking with white trim. I think a miniature stocking would have been perfect, but couldn't find one, so I used this larger one that I bought at the dollar store.
I measured it around the arm, cut it out, and glue gunned it together. I was too lazy to sew it.
I found this old frame in the basement and painted it with metallic red paint.
I was worried that the wire wasn't strong enough to hold up the arm, plus it didn't run all the way through the Santa sleeve, so I added several wood skewers down the middle. I attached them with hot glue.
Then I positioned the hand in the frame and hot glued it to the back side of the frame. Then I trimmed off all the excess stuff so that it was flush with the edge of the frame.
Then I hot glued the pinky finger to the top of the frame and the red bulb in between the thumb and forefinger. I love how it turned out!
Make a matching Grinch ornament with your leftover fur.
I have over 50 Grinch ideas for you to check out. Just click here.
Print out a free WhoVille banner for your Grinch-mas party
Or you can print out some FREE napkin rings and a treat bag: